How to Animate a Photo With AI: Step-by-Step Guide
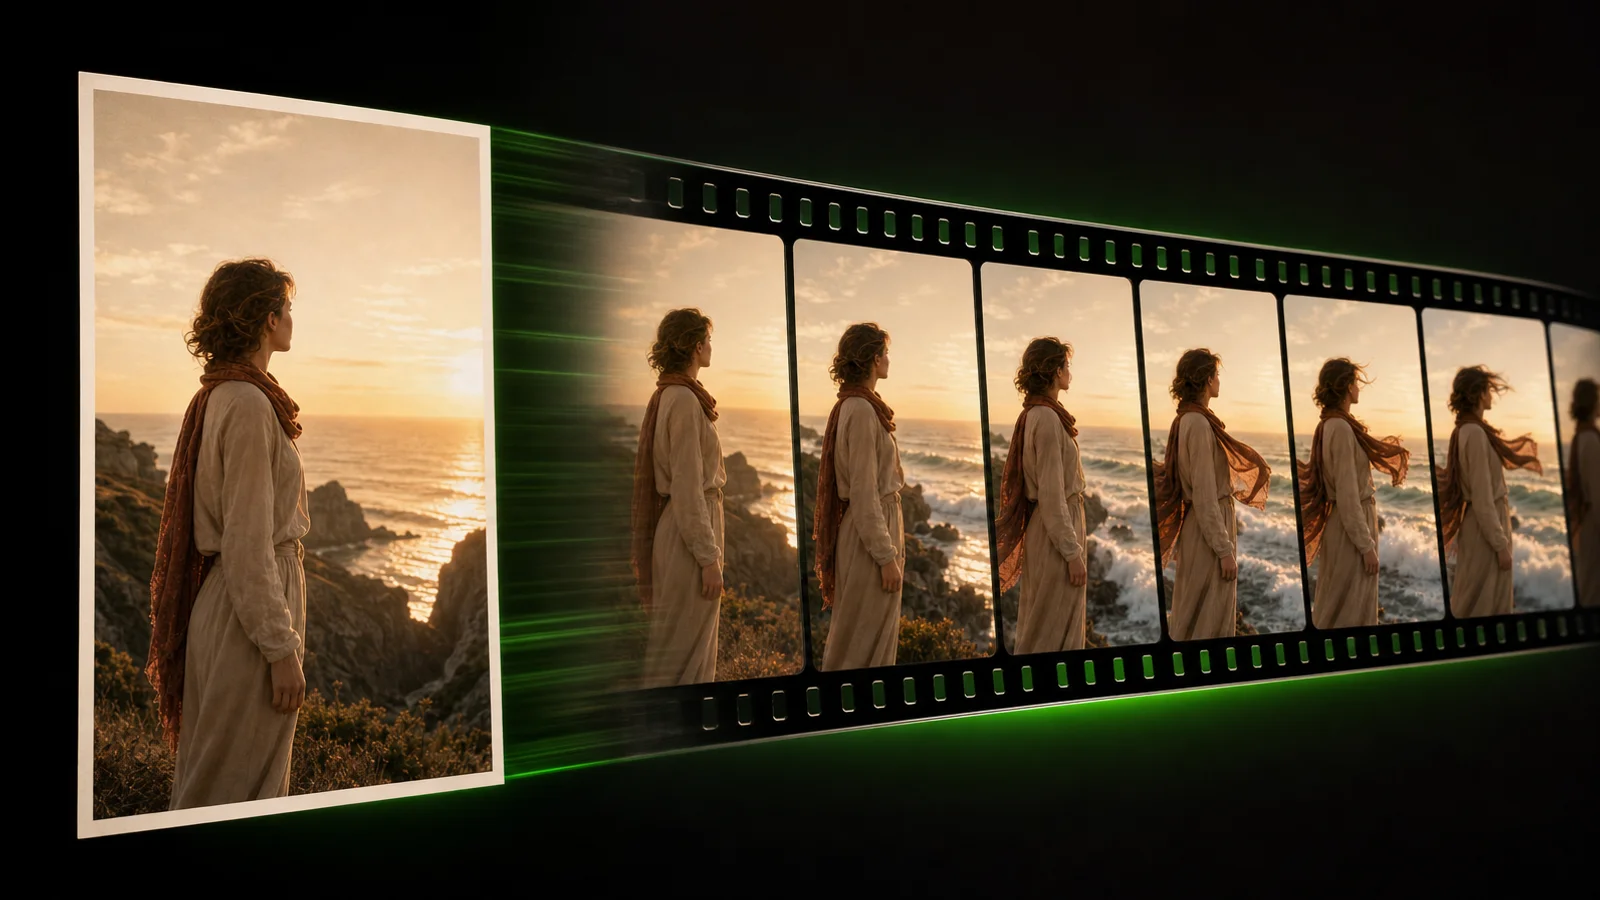
You can animate a photo with AI by uploading a still image, describing the movement you want, choosing a suitable output format, and generating a short video. You do not need to draw individual frames or learn traditional animation software. The result depends mainly on the source photo, the clarity of the motion prompt, and how carefully you review the generated video.
This guide covers the complete workflow: choosing an image, planning one clear movement, writing a useful prompt, selecting a format, reviewing the result, and fixing common problems. If you want a broader explanation of the technology first, read the complete guide to AI image to video generation.
What Does It Mean to Animate a Photo With AI?
Animating a photo means turning a still image into a short moving sequence. An image to video system examines the subjects, background, composition, lighting, and visual depth of the image. It then uses a written prompt to decide what should move, how quickly it should move, and whether the camera should remain still or move through the scene.
The generated motion might include a slow camera push toward a subject, hair moving in the wind, water flowing, clouds drifting, lights flickering, or a product receiving a subtle camera reveal. The goal is not to make every part of the image move. One clear subject motion combined with restrained camera movement often creates a more controlled result.
Step 1: Choose a Photo That Is Easy to Animate
AI can work with many kinds of images, but a clear source photo gives the system fewer details to guess.
Look for an image with:
- One obvious main subject
- Sharp, visible facial or product details
- Clear separation between the subject and background
- Enough space around the subject for the intended movement
- Consistent lighting
- Limited motion blur
- Few overlapping hands, objects, or facial features
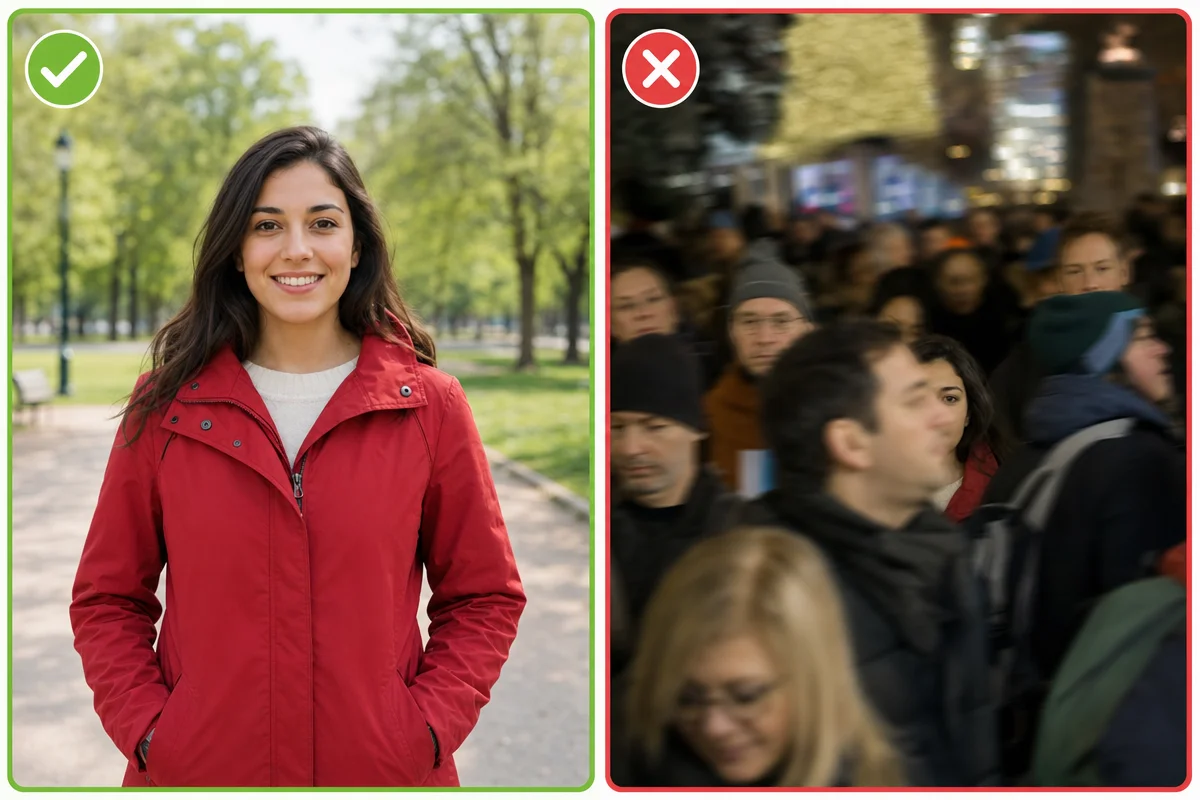
Portraits, product photos, landscapes, illustrations, and AI-generated artwork can all be animated. More difficult inputs include crowded group photos, tiny faces, cropped limbs, heavy blur, detailed text, and products partly hidden behind other objects.
Before uploading, identify the most important part of the photo. If you cannot quickly tell what the video should focus on, choose a clearer crop or a simpler image.
Step 2: Decide on One Main Motion
Start with one primary action instead of a long list of effects.
For example:
- A woman turns her head slightly toward the camera.
- Ocean waves move gently toward the shore.
- The camera slowly pushes toward a product.
- Steam rises from a cup while the background remains still.
- Clouds drift across the sky.
- A character's hair moves in a light breeze.
A focused request gives the system a clear priority. You can add atmosphere or a small camera movement after defining the main action.
A vague instruction such as "make this photo exciting and cinematic" does not explain what should move. A clearer direction would be:
The camera slowly pushes toward the subject while her hair moves gently in the wind. Keep her face and the background stable.
This version identifies the subject, motion, camera behavior, pace, and the details that should remain unchanged.
Step 3: Upload the Image
Open Vidou's free AI image to video generator and choose the photo you want to animate. The current interface accepts JPEG, PNG, and WebP images.
Use the original image when possible instead of a compressed screenshot or a file repeatedly downloaded from social media. Before continuing, check that:
- The image appears in the correct orientation.
- The main subject is not accidentally cropped.
- Important faces, logos, labels, and product details remain visible.
- The image has a similar shape to the planned video format.
A horizontal photo usually adapts more naturally to a horizontal video. Turning a tightly framed horizontal image into a vertical video may require cropping or the generation of background areas that were not present in the original.
Step 4: Write a Clear Motion Prompt
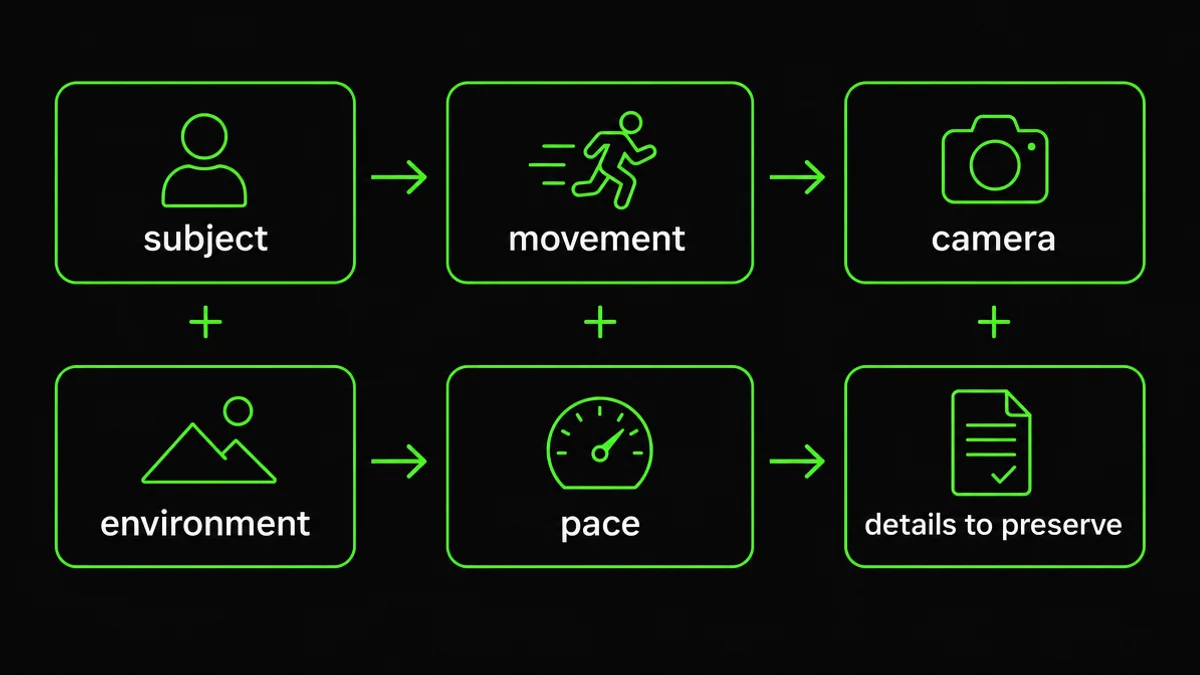
A useful prompt can follow this formula:
Subject + movement + camera + environment + pace + details to preserve
Portrait example:
The woman looks toward the camera and blinks naturally. Her hair moves in a light breeze. Slow camera push-in, soft daylight, and subtle motion. Keep her face and the background consistent.
Product example:
Slow camera movement around the sneaker. Gentle studio light moves across the surface. Keep the shoe shape, logo, colors, and background unchanged.
Landscape example:
Clouds drift slowly above the mountains while the lake shows subtle movement. Static camera, calm atmosphere, and a natural pace.
For more starting points, browse 50 Image to Video prompt examples for realistic motion.
Avoid combining several unrelated actions in one prompt. A request to rotate the camera, transform the subject, replace the weather, move the background, and add new objects forces the system to make too many decisions at once. Begin with the most important motion and add complexity only after reviewing a simpler result.
Ready to try the workflow? Keep the prompt focused on one visible action, then use the review checklist below before making another version.
For a deeper explanation of prompt structure and revision, read the Image to Video prompt guide.
Step 5: Choose the Right Aspect Ratio and Output
Choose an aspect ratio based on where the finished video will appear:
- 9:16 for TikTok, Instagram Reels, and YouTube Shorts
- 16:9 for YouTube, presentations, and website banners
- 1:1 for square social posts and product grids
- 4:3 for traditional presentation and editorial layouts
- 3:4 for portrait-oriented posts and product content
The signed-in workspace currently displays 480p, 720p, and 1080p resolution choices. Select an output appropriate for its destination, but remember that a higher output setting cannot restore details missing from the original photo.
Whenever possible, begin with an image whose orientation already resembles the intended video. This reduces the need for aggressive cropping or generated areas around the frame.
Step 6: Generate and Review the Entire Frame
Generate the video and watch it more than once. Do not look only at the main subject.
Check:
- Facial features
- Hands and fingers
- Product shape
- Logos and labels
- Edges of clothing or hair
- Background objects
- Reflections and shadows
- The first and final frames
- Sudden flicker or color changes
A convincing main movement can still be accompanied by a distracting error near the edge of the frame. Review the video at full size before publishing or placing it in a campaign.
Step 7: Improve One Variable at a Time
If the first result is not right, avoid rewriting the entire prompt immediately. Change one element so you can see what affected the output.
Useful adjustments include:
- Reduce the amount of movement.
- Remove a secondary action.
- Replace words such as "dramatic" with a specific camera direction.
- Ask for a static background.
- Use "subtle," "slow," or "gentle" to control intensity.
- Name the details that must remain unchanged.
- Choose a source image with clearer subject separation.
- Select an aspect ratio closer to the original image.
Changing one variable at a time turns each generation into a controlled revision rather than a random restart.
Common Problems and How to Fix Them
The Face Changes or Becomes Distorted
Use smaller facial movements. Replace a full head turn or a large expression change with blinking, a slight smile, or a subtle shift in gaze.
Add a constraint such as:
Preserve facial identity and proportions. Use minimal head movement.
A clear, front-facing portrait usually gives the system more usable facial information than a small, blurred, or partly hidden face.
The Background Keeps Changing
State what should remain still:
Static background. Keep all buildings, signs, and background objects unchanged.
You can also reduce camera movement. A large orbit or pan requires the system to create areas that are not visible in the original photo.
The Product Shape, Logo, or Label Changes
Use a sharp source image and request restrained movement:
Slow camera push-in. Keep the product shape, logo, label, colors, and packaging unchanged.
Avoid requesting a complete product rotation when the source image only shows one side. The system does not have reliable visual information for hidden surfaces.
The Motion Is Too Weak
Replace broad instructions with a visible action. Instead of "bring the image to life," write:
Leaves move gently from left to right while sunlight flickers through the branches.
One precise action is usually easier to interpret than several abstract adjectives.
The Result Feels Too Busy
Remove secondary effects. Keep either the subject motion or the camera motion simple. Use a static camera while the subject moves, or use a slow camera push while the subject remains mostly still.
A Reusable Prompt Template
Use this structure as a starting point:
[Main subject] [specific movement]. [Camera direction]. [Environmental movement]. [Pace and mood]. Keep [important details] unchanged.
Example:
The cyclist looks toward the road while her jacket moves slightly in the wind. Slow camera push-in. Trees move gently in the background. Natural pace and soft morning light. Keep her face, bicycle, and clothing consistent.
This template is not a guarantee of a perfect result. It gives the system a clearer hierarchy: what should move, how the scene should be filmed, and what must remain stable.
Frequently Asked Questions
Can I animate an old family photo?
Yes, provided you have permission to use the image. Begin with subtle movements such as blinking, breathing, a small smile, or a gentle camera push. Large facial or body movements are more likely to alter identity or introduce visible artifacts.
What types of photos are easiest to animate?
Photos with one clear subject, visible edges, good lighting, and an uncluttered background are usually easier to control. Portraits, products, landscapes, and illustrations can all work when the intended motion is specific.
Do I need to write a long prompt?
No. A short prompt with one precise action is often more useful than a long prompt containing competing instructions. Add camera movement, atmosphere, and preservation constraints only when they support the main action.
Which image formats can I upload to Vidou?
The current Vidou interface supports JPEG, PNG, and WebP images.
Why can the result look different between attempts?
Image to video generation can interpret the same image and prompt differently between attempts. Keep the source image and settings unchanged while adjusting one prompt element at a time. This makes it easier to identify which instruction changed the result.
Can I animate a product photo?
Yes. Use a sharp image, keep the requested movement restrained, and explicitly ask the system to preserve the product's shape, logo, label, colors, and packaging. For a product focused workflow, read how to turn product photos into videos with AI.
Animate Your First Photo
A successful photo animation starts with three decisions: choose a clear image, describe one visible movement, and identify the details that must remain unchanged.
Start simple. Review the entire frame. Then refine one instruction at a time.